Saturday, December 31, 2011

The Thump...

Here is the power supply that will be powering the amp for the speakers and the rear fans.

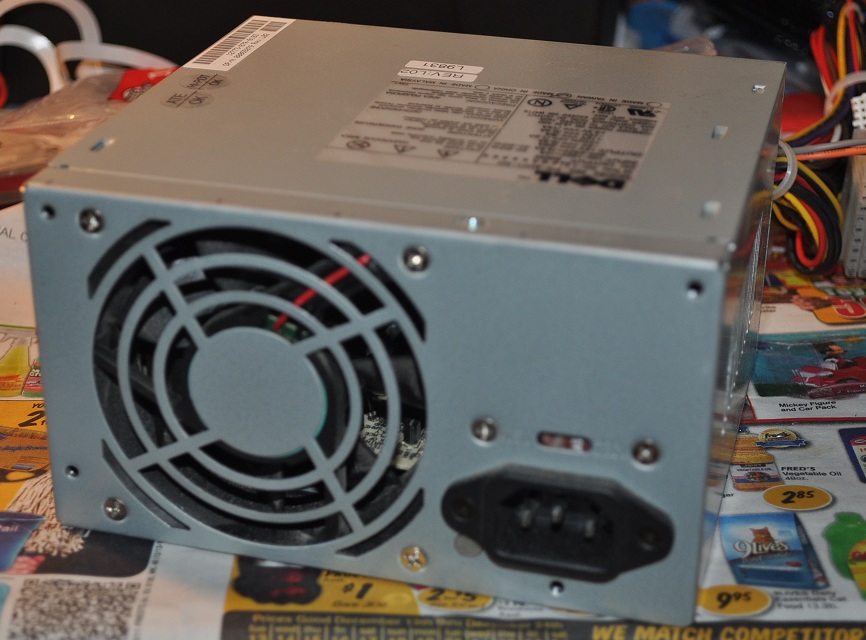
This is a Dell power supply that I had ripped from an old computer before it was junked.  The power supply is only 200W but is enough to power the amp and drive the speakers.


Here is a pic of both the amp and power supply mounted to the revolving rear door.  Both the amp and power supply are screwed down to the door so that the door can be closed and conceal both items.


Here is another pic.


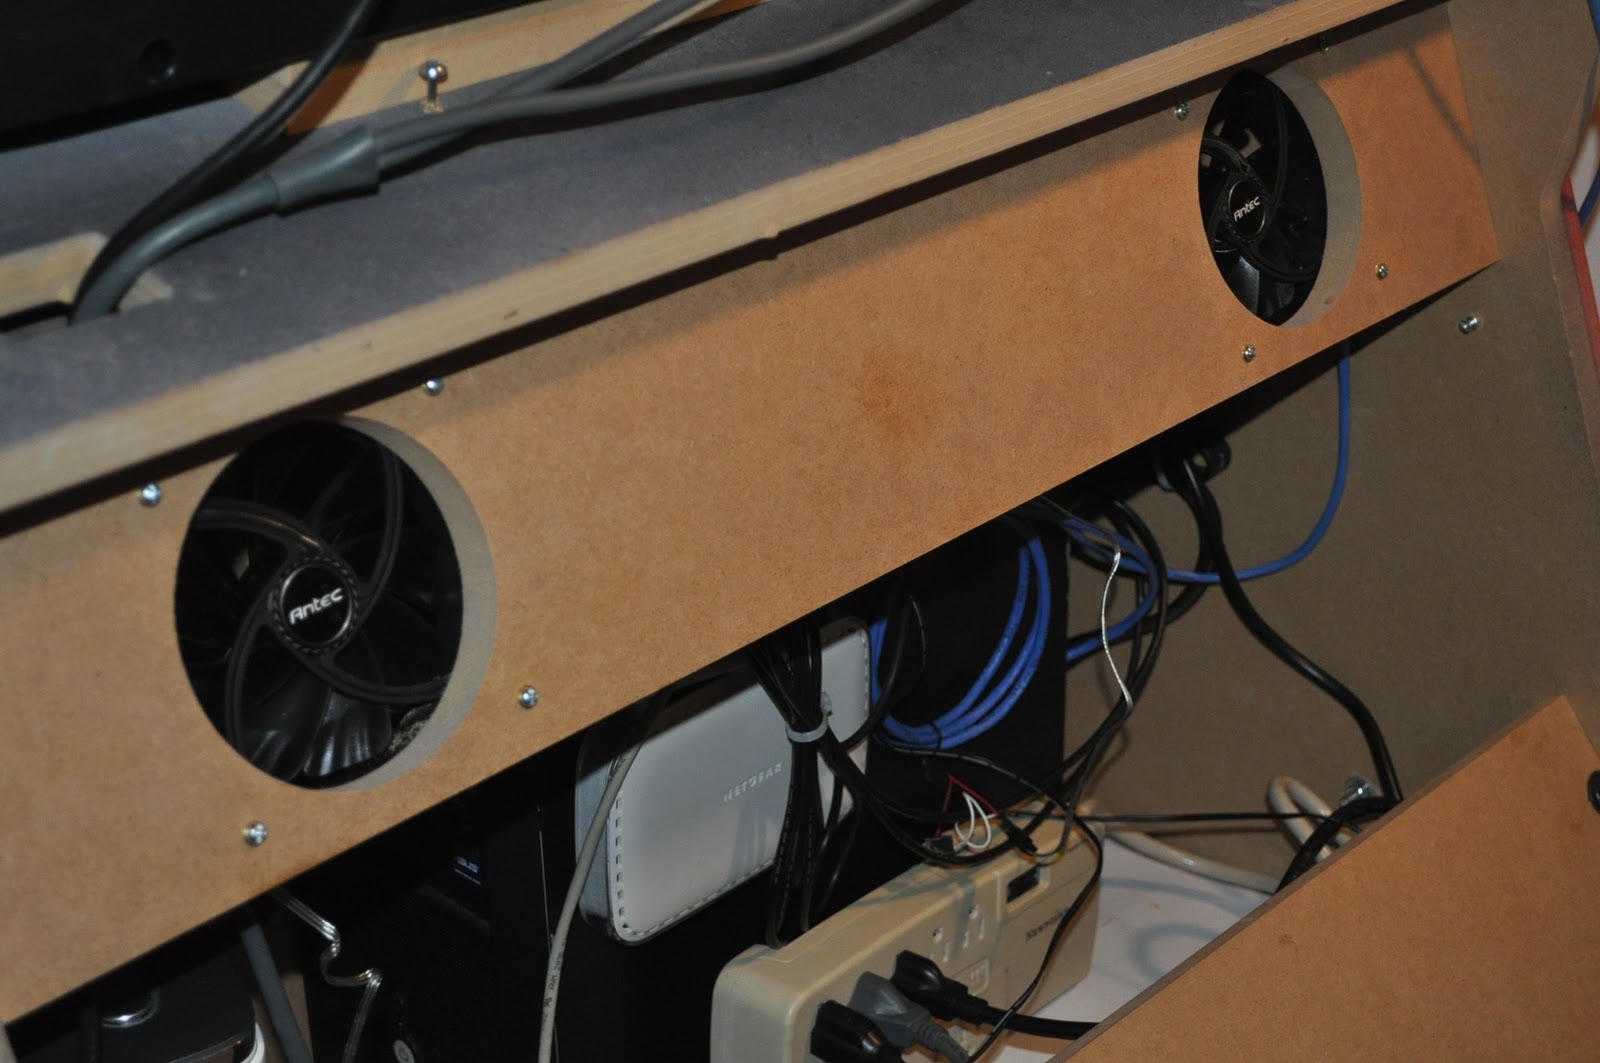
Here is a pic of the speakers mounted.  The speakers are flush mounted.  I had to enlarge the 4 inch hole to a 6.5 inch hole with the use of my Dremel.  It didn't take long and came out good.
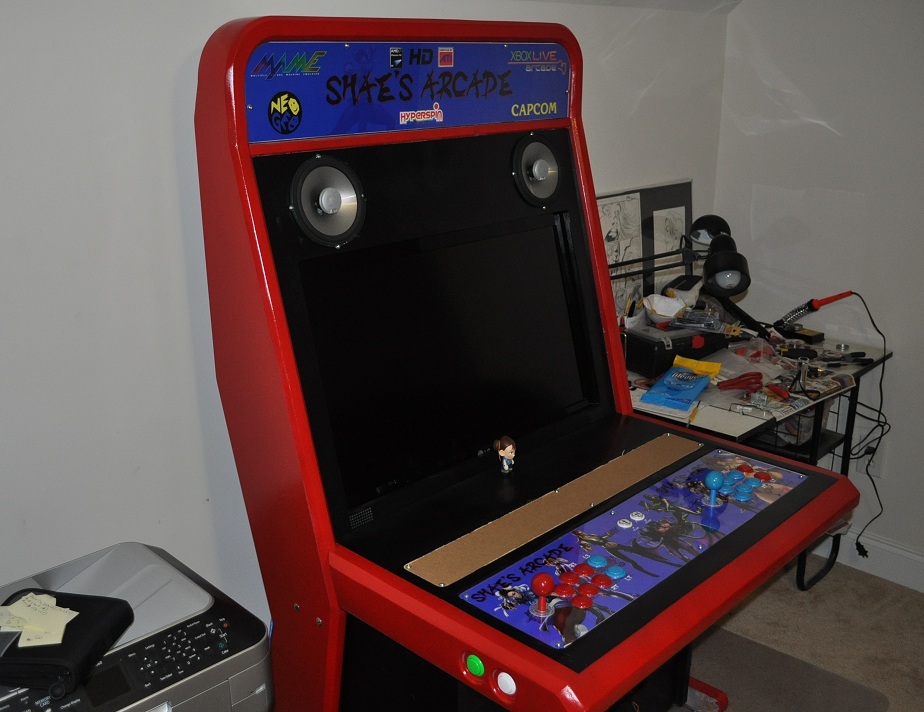
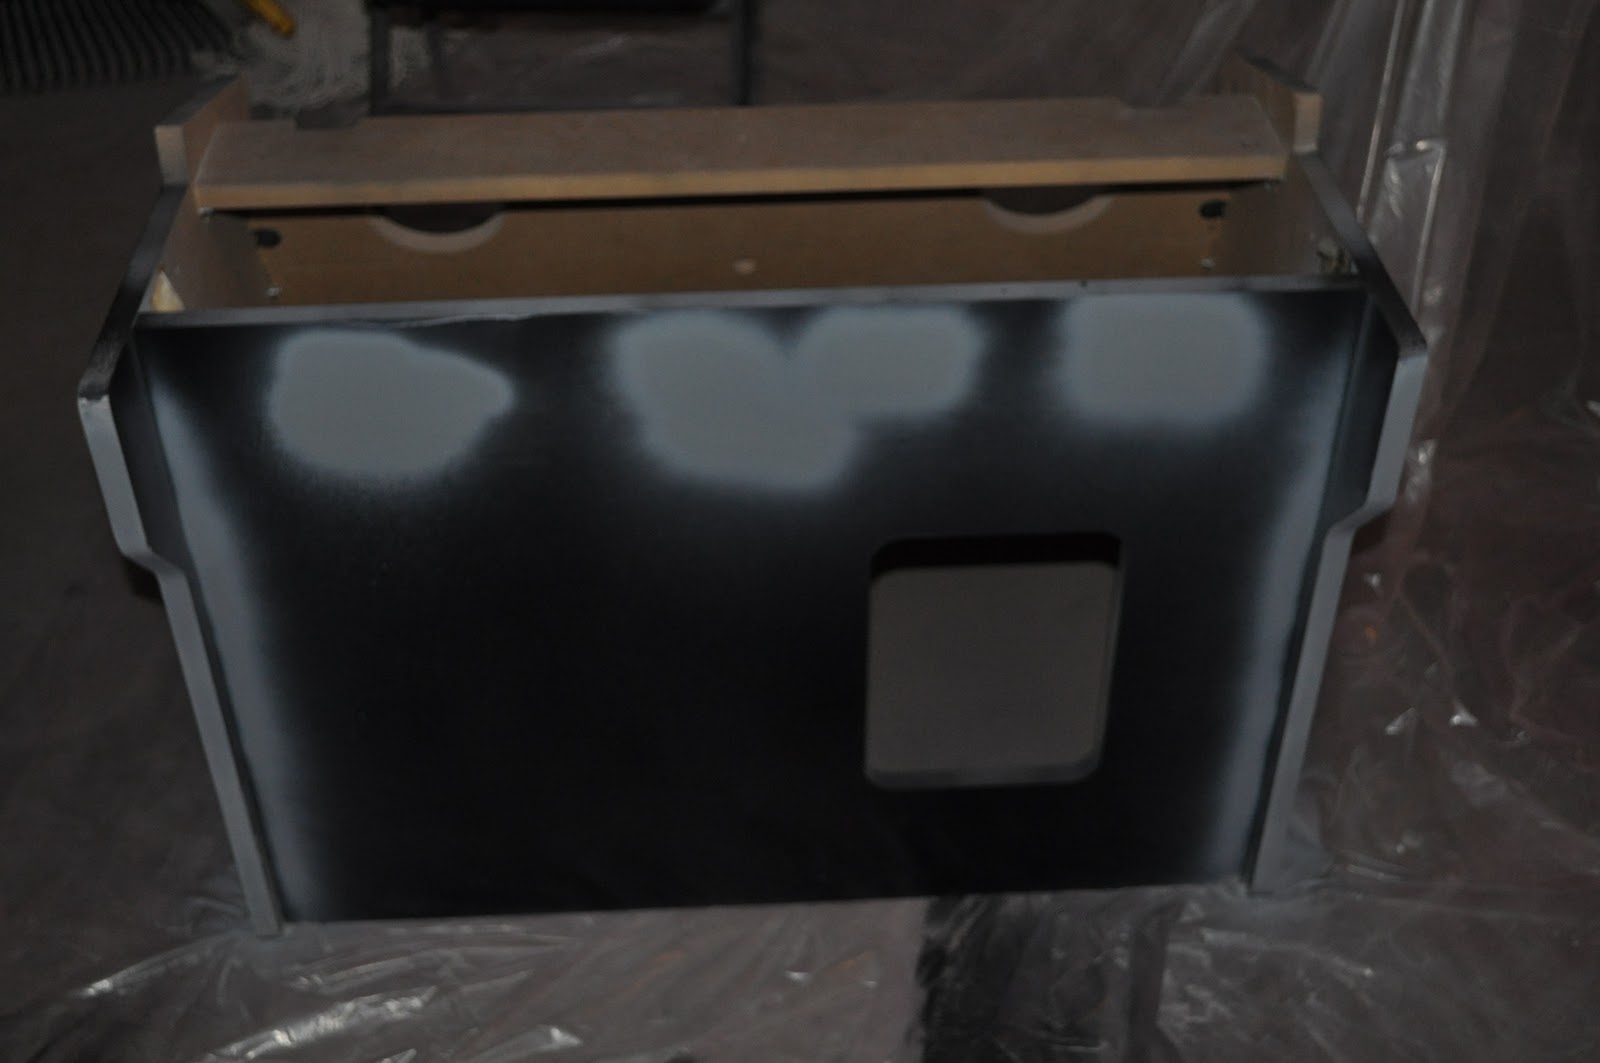

Bonus pic!

Let there be sound...

Oh!  The post office just dropped off a little surprise (extra work for the weekend).    Here is what I got:
Here are the speakers that I will be adding to the arcade.  I was looking for some speakers on Tuesday and decided to stop by Pepboys to see what 4in speaker they carried.  I saw these speakers and decided to play them and boy were they awesome!  I said to my self, "the hell with the 4" speakers, this is the shit!" but for $99 I took a pause and said I'll come back and get them at some other time.  Later that day I decided to go on Amazon and see what there pricing was.  The price was for $51!  That is almost half off!  Now that was a price I was willing for for these awesome speakers!  The only thing that sucks is that it doesn't come with grills!  You have to purchase them separately!

 Here are some RCA cables that I got from Monoprice.  These cables also came in today!  These speakers will be from my PC to the amp pictured below.

Although I didn't purchase the speakers from Pepboys I did decided to purchase this 2.1 channel Amp for approximately $60.  This amp was connected to the speakers pictured above at Pepboys and it was a wrap!

I'm almost ready to rock!  Now it's time to mount everything and get it rocking.  I'm gonna post the power supply I have for everything in my next post.

Friday, December 30, 2011

Proper Air Flow...

Long time no update but I continue to purchase parts to fully complete my arcade unit.  I just finish purchasing some Antec Truquiet 120mm Fans from Bestbuy this past Monday.  They were on sale at $6.99 from the regular price of $19.99.  I think that was quiet the steal!  They arrived today and I quickly went to work.   They


They will be powered by a seperate power supply that will also be supply power to an amp for the speakers that I will be mounting.  I still have to purchase the coin door and I will probably redo the marquee and control panel artwork.  Once I get those done the arcade is almost as good as done!

Tuesday, November 22, 2011

What do we have here....

This has been a labor of love, I think.


Too tired to write anything more.  Will update in a couple of days after Thanksgiving.

Friday, November 18, 2011

Halfway forwards...

I think I'm starting to see the light at the end of the tunnel.  First up is a little bit of a blurry pic of the arch/bezel.  I've painted the bezel around the TV black.  I added about two coats of paint and will now wait until Sunday to wet sand it.  I did notice some imperfections (paint running) after painting it so I will have to try and wet sand those parts out.  Depending on how it looks after I wet sand it, I'll either give it another coat of paint (and wait 48 hours again) or start preparing this whole part to be clear coated.

Next up is the control panel.  I really really liked how I applied the red paint around this.  It looked like there were no imperfections (paint running) when I applied it.  I have to wait to Sunday to wet sand it.  Again, depending on how it looks afterwards, I'll either give it another coat of paint or start painting the underbelly of the control panel red also.

Here is the bottom portion of the cabinet.  This is how it looked after I repainted the imperfections I saw yesterday.  Tomorrow I will wet sand it and apply clear coat afterwards.

The end is getting oh so near but its the little imperfections that are always stopping significant progress.  Oh well!

Thursday, November 17, 2011

Halfway Backwards...

I noticed some imperfections after my first coat of paint dried.  It had what I believe is called orange peel.  I'm not to sure how it occurs but I think that after I wet sanded the primer maybe some parts of it weren't dried before I applied my first coat of paint.  It kind of sucks because I had to resand that part down and apply some new primer and then later paint.  It sucks big time because after I apply the paint, I've got to wait 48 hrs for it to dry!


Although that makes me feel like its taking some additional time that I didn't want to here are some pics of the other parts of the cabinet.


I have spent quite a bit on primer, sand paper and paint!  The total for that is gonna be very ugly.  I know it.  I'm gonna add it all up very soon and post the damage on my next blog post.

Thursday, November 10, 2011

Still getting there...

Additional coats of paint will be needed...


I'll let the paint dry and do he recoat on Sat.

Friday, November 4, 2011

Half way through...

Here is the control panel.  It is the first part of the cabinet that I started to work on.  I've worked on it for more then a week and probably did more stuff then I needed to.  I don't know if its very visible but there are some imperfections that would require more sanding but I started to get tired and anoyed with it and decided to progress along with it.

While working on the control panel I learned a whole lot about sanding, bonding and priming.  I think and hope that the other cabinet parts will go much smoother and quicker since I've learned how to do it.

The cabinet will overall feature a red and black scheme.  I wanted to go with a red and blue scheme but I later thought that it wouldn't look good.

The control panel is still not complete yet as this features only the first coat of paint.  I will wait till Sunday to wet sand it and apply another coat of red and black paint.

Sunday, October 30, 2011

Monday, October 24, 2011

Phase 2...prologue...

Here is my DeWalt sheet sander.  It should make short and quick work of all the sanding that will be required.

I still need to purchase bondo for all the cracks so I'll stop by Lowe's tomorrow and pick it up!

Phase 1 complete...

This took much longer then I expected to assemble but now that I have it completed, I'm relieved.


I will start sanding and priming it this weekend.  Dis gonna be fun!

More to come...

The last piece is here:


Now the fun begins!

Sunday, October 23, 2011

Sexy Control Panel...

Here is my sexy control panel:

It features tons of tits and ass from girls in popular fighting games.  While I haven't played with all these respective characters from their games, once I started adding these chicks to the control panel I decided to just keep it going and didn't include any dudes.  It sort of seems like a mess but I think it will look good once its mounted and the joystick and push buttons added.

Price for control panel art: $14.98
Total Spent: $1399.24

Saturday, October 22, 2011

IT BEGINS...Extended...

Decided to open both shipments to take a peek inside...

IT BEGINS...

What do I spy from FedEX...

Two of three shipments were delivered with the third expect to be delivered this Monday.

Shipping for Kraylix: $238
Total Spent: $1384.26

1st artwork printed...

What do I spy from USPS today...

Big box for this little thing:

Hmmmmm....My marquee design.  Looks good.  I decided to choose a back light film paper so that I can add a light source to the back of the marquee print and have it shine:

Here's a closer look at the left side of the marquee:

Here's a look at the center of the marquee:

Finally, here's a look at the right side:

The only thing left to do is properly cut and fit the marquee but I'll do that once I have the Kraylix cabinet all built up, sanded, primed, and painted!  

I also need to finish my design for the control panel but I've been working on the MAME PC and configuring Hyperspin which has taken forever, but should be worth it once it's all done!

Marquee Price: $15.14
Total Spent so far: $1146.26

Saturday, October 15, 2011

The 2nd Most Important Part...

The visuals for the arcade will be provide by a LG 32LK450 as seen below:

I also received my Windows 7 64-bit OEM.  This is it installed as seen below:

I installed Street Fighter IV PC and MAME as seen below:

Everything is shapping up!

TV Price: $421.19
Total Spent so far: $1,131.12

Thursday, October 13, 2011

I got shafted...

I received my shaft covers from Lizard Lick.

Let me remind you that these are for Seimitsu sticks and not for Sanwa sticks.  With a little bit of modification you can make them fit.  So to make them fit I brought out a little toy.  I call it my dremel.

A couple of seconds later.  Viola!

The colors aren't exact because the shafts are from Seimitsu and the ball sticks are from Sanwa but you really cant tell the difference.

Tuesday, October 11, 2011

Need to get shafted...

To my suprise when I received the first joystick last week, I thought it would have shipped with a shaft cover but it didn't.  So I searched for some colored Sanwa shaft covers and didn't find any.  I ended up at Akihaba.jp and saw that Seimitsu shaft covers will fit the Sanwa JLF joysticks with a little bit of modification.  So I decided to order a blue and red one from Lizard Lick and perform the easy modifcation when I receive it.

Shaft covers: $5.34
Total price spent so far: $709.93

2nd Joystick Received...

What's this...

Ahh, Lizard Lick shipped my second joystick that was missing from my initial order. 


Now all is good!

Back to my MAME PC...

I currently have the Windows 8 (Developers Build) running on my MAME PC.  I installed it to test out the new motherboard, video card, hard drive, and memory that I installed.  Since everything worked out it's now time to add the legit operating system on it.  I ordered Windows 7 Home Premium 64-bit OEM from Newegg:

Once I receive it and install it, the next step will be to start loading games and configuring it.  I always find that fun to do!

Cost of OS: $99.99
Total spent so far: $704.59