
Sunday, October 30, 2011
Monday, October 24, 2011
Phase 2...prologue...
Here is my DeWalt sheet sander. It should make short and quick work of all the sanding that will be required.
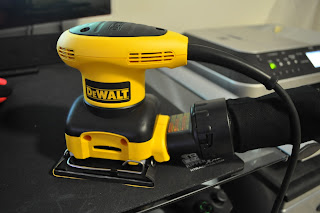
I still need to purchase bondo for all the cracks so I'll stop by Lowe's tomorrow and pick it up!

I still need to purchase bondo for all the cracks so I'll stop by Lowe's tomorrow and pick it up!
Phase 1 complete...
This took much longer then I expected to assemble but now that I have it completed, I'm relieved.

I will start sanding and priming it this weekend. Dis gonna be fun!

I will start sanding and priming it this weekend. Dis gonna be fun!


Sunday, October 23, 2011
Sexy Control Panel...
Here is my sexy control panel:

It features tons of tits and ass from girls in popular fighting games. While I haven't played with all these respective characters from their games, once I started adding these chicks to the control panel I decided to just keep it going and didn't include any dudes. It sort of seems like a mess but I think it will look good once its mounted and the joystick and push buttons added.
Price for control panel art: $14.98
Total Spent: $1399.24
Saturday, October 22, 2011


IT BEGINS...
What do I spy from FedEX...

Two of three shipments were delivered with the third expect to be delivered this Monday.
Shipping for Kraylix: $238
Total Spent: $1384.26

Two of three shipments were delivered with the third expect to be delivered this Monday.
Shipping for Kraylix: $238
Total Spent: $1384.26
1st artwork printed...
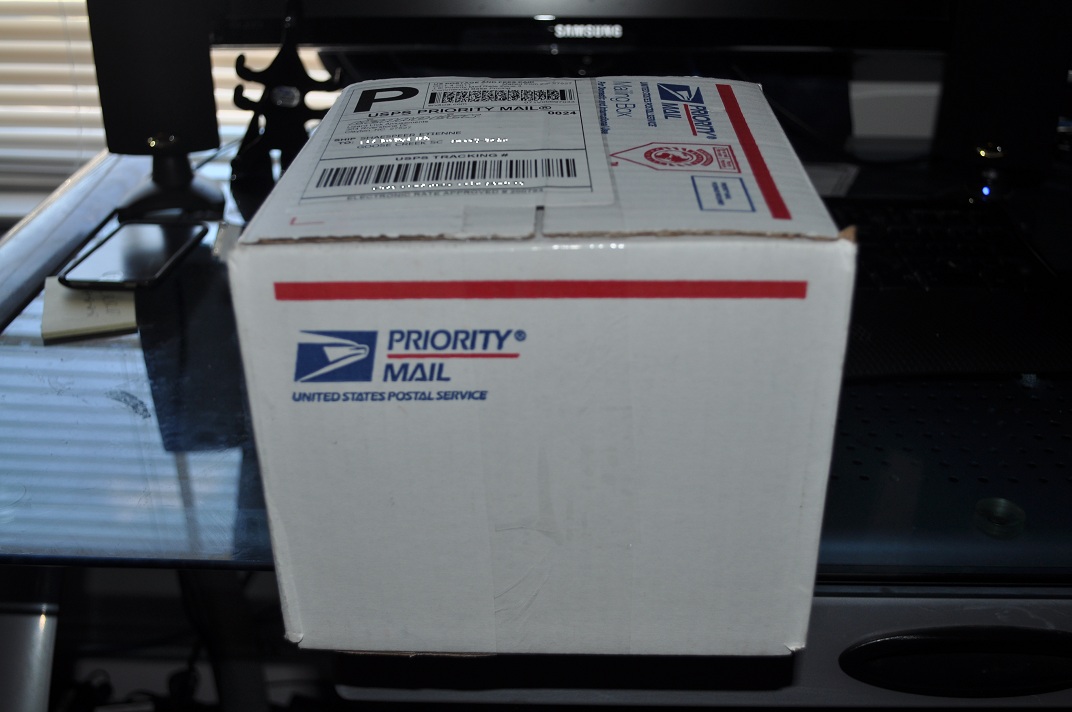
What do I spy from USPS today...
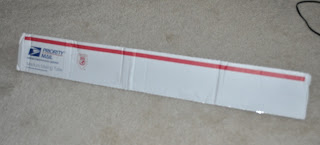
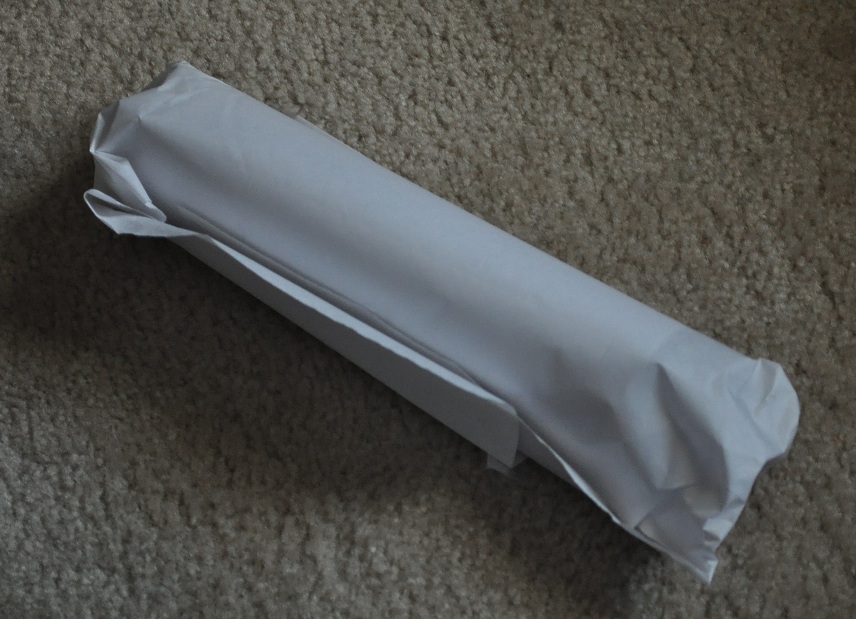
Big box for this little thing:

Hmmmmm....My marquee design. Looks good. I decided to choose a back light film paper so that I can add a light source to the back of the marquee print and have it shine:

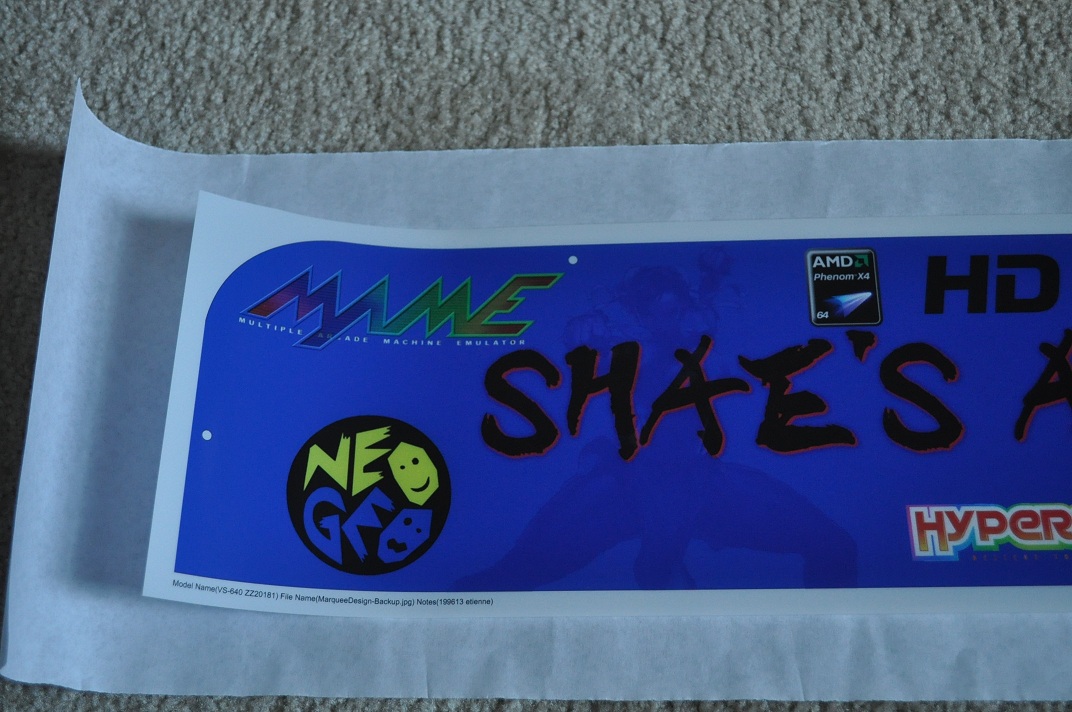
Here's a closer look at the left side of the marquee:

Here's a look at the center of the marquee:

Finally, here's a look at the right side:


Big box for this little thing:
Hmmmmm....My marquee design. Looks good. I decided to choose a back light film paper so that I can add a light source to the back of the marquee print and have it shine:

Here's a closer look at the left side of the marquee:
Here's a look at the center of the marquee:

Finally, here's a look at the right side:

The only thing left to do is properly cut and fit the marquee but I'll do that once I have the Kraylix cabinet all built up, sanded, primed, and painted!
I also need to finish my design for the control panel but I've been working on the MAME PC and configuring Hyperspin which has taken forever, but should be worth it once it's all done!
Marquee Price: $15.14
Total Spent so far: $1146.26
Saturday, October 15, 2011
The 2nd Most Important Part...
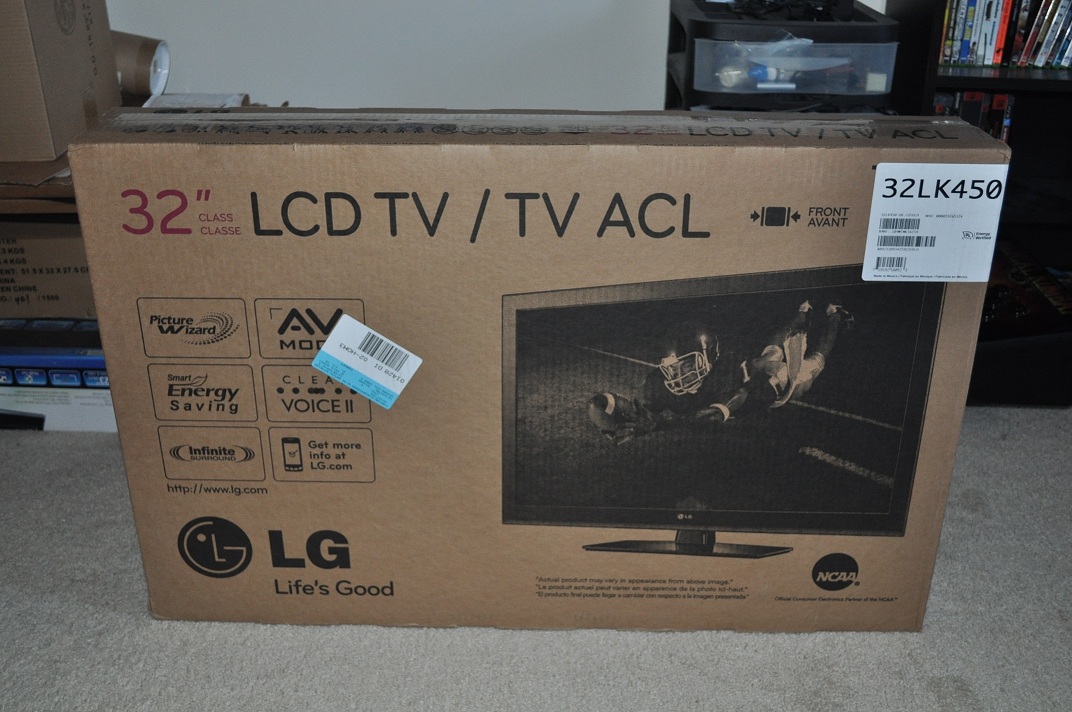
The visuals for the arcade will be provide by a LG 32LK450 as seen below:

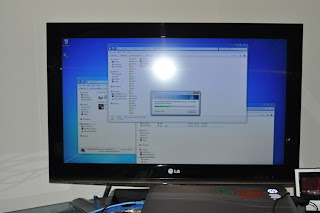
I also received my Windows 7 64-bit OEM. This is it installed as seen below:

I installed Street Fighter IV PC and MAME as seen below:
I also received my Windows 7 64-bit OEM. This is it installed as seen below:

I installed Street Fighter IV PC and MAME as seen below:

Everything is shapping up!
TV Price: $421.19
Total Spent so far: $1,131.12
Thursday, October 13, 2011
I got shafted...
I received my shaft covers from Lizard Lick.

Let me remind you that these are for Seimitsu sticks and not for Sanwa sticks. With a little bit of modification you can make them fit. So to make them fit I brought out a little toy. I call it my dremel.

A couple of seconds later. Viola!

The colors aren't exact because the shafts are from Seimitsu and the ball sticks are from Sanwa but you really cant tell the difference.

Let me remind you that these are for Seimitsu sticks and not for Sanwa sticks. With a little bit of modification you can make them fit. So to make them fit I brought out a little toy. I call it my dremel.
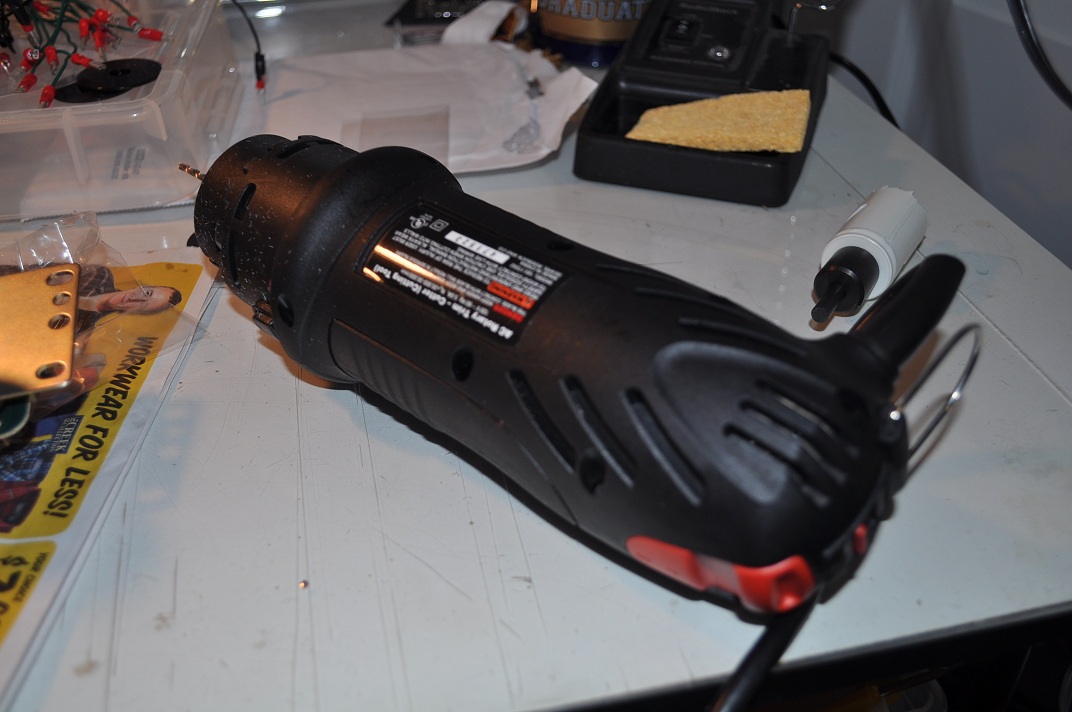
A couple of seconds later. Viola!

The colors aren't exact because the shafts are from Seimitsu and the ball sticks are from Sanwa but you really cant tell the difference.
Tuesday, October 11, 2011
Need to get shafted...
To my suprise when I received the first joystick last week, I thought it would have shipped with a shaft cover but it didn't. So I searched for some colored Sanwa shaft covers and didn't find any. I ended up at Akihaba.jp and saw that Seimitsu shaft covers will fit the Sanwa JLF joysticks with a little bit of modification. So I decided to order a blue and red one from Lizard Lick and perform the easy modifcation when I receive it.

Shaft covers: $5.34
Total price spent so far: $709.93

Shaft covers: $5.34
Total price spent so far: $709.93
2nd Joystick Received...
What's this...
Ahh, Lizard Lick shipped my second joystick that was missing from my initial order.
Now all is good!

Ahh, Lizard Lick shipped my second joystick that was missing from my initial order.

Now all is good!
Back to my MAME PC...
I currently have the Windows 8 (Developers Build) running on my MAME PC. I installed it to test out the new motherboard, video card, hard drive, and memory that I installed. Since everything worked out it's now time to add the legit operating system on it. I ordered Windows 7 Home Premium 64-bit OEM from Newegg:

Once I receive it and install it, the next step will be to start loading games and configuring it. I always find that fun to do!
Cost of OS: $99.99
Total spent so far: $704.59

Once I receive it and install it, the next step will be to start loading games and configuring it. I always find that fun to do!
Cost of OS: $99.99
Total spent so far: $704.59
Monday, October 10, 2011

Marquee Design...
I've been working on some art that's going to go on the arcade. Here is the marquee that I've created:

I created it using Gimp v2.6. I wanted to give it a nice name which consequently will be called "Shae's Arcade". The font used for that is Dist Inking which is the font use for Street Fighter IV. Surrounding the arcades name is the name of the features that will be powering this arcade:
1. Xbox Live Arcade: I will have an Xbox 360 and will of course have arcade games.
2. MAME: I will also have a PC which will be running some of my favorite ROMS.
3. NEO GEO: I used to own a NEO GEO AVS system so I thought it would be appropriate to give it some recognition.
4. CAPCOM: This is one of my favorite gaming companies and I've pretty much loved their fighting game series with of course Street Fighter. I will try and run all the CAPCOM fighting games in MAME.
I don't think I'm done with this marquee. I want to add some patterns in the background and maybe an image for the stereo sound that will used. Once that's all done I'll get it printed.
Friday, October 7, 2011
Control Panel A Go!!!!.....????...Wait...
What do I spy from Lizardlick?

Let's open it up.

Oh, the remaining Sanwa pushbuttons and 2 control sticks I ordered...

Wait...
Why do I have one control stick when I ordered 2?

Sigh...
Have to contact Lizardlick and request that the sent the missing stick they forgot to pack.
Let's open it up.

Oh, the remaining Sanwa pushbuttons and 2 control sticks I ordered...

Wait...
Why do I have one control stick when I ordered 2?

Sigh...
Have to contact Lizardlick and request that the sent the missing stick they forgot to pack.
Monday, October 3, 2011
Adding some detail...
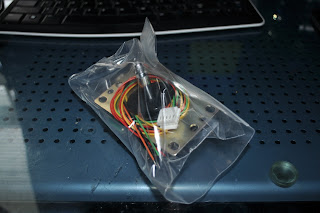
I received some dustcovers from tek-innovations. I'm going to use two of them for the arcade cabinet and the other two will be used for my two Madcatz Round 1 Tournament Edition arcade sticks.

Which ones should I use for the arcade cabinets?
Price for two dustcovers: $4.50
Total for spent for arcade cabinet: $604.60

Which ones should I use for the arcade cabinets?
Price for two dustcovers: $4.50
Total for spent for arcade cabinet: $604.60
Sunday, October 2, 2011
Crimping wires are all done!!
While I was watching football I spent all day crimping the wires that will make the connections between the pushbuttons and Madcatz Brawlpad PCB board.

In between the PCB board and the pushbuttons will be distribution boards to land the terminal rings.

In between the PCB board and the pushbuttons will be distribution boards to land the terminal rings.
My first difficult task...Soldering!...part 2
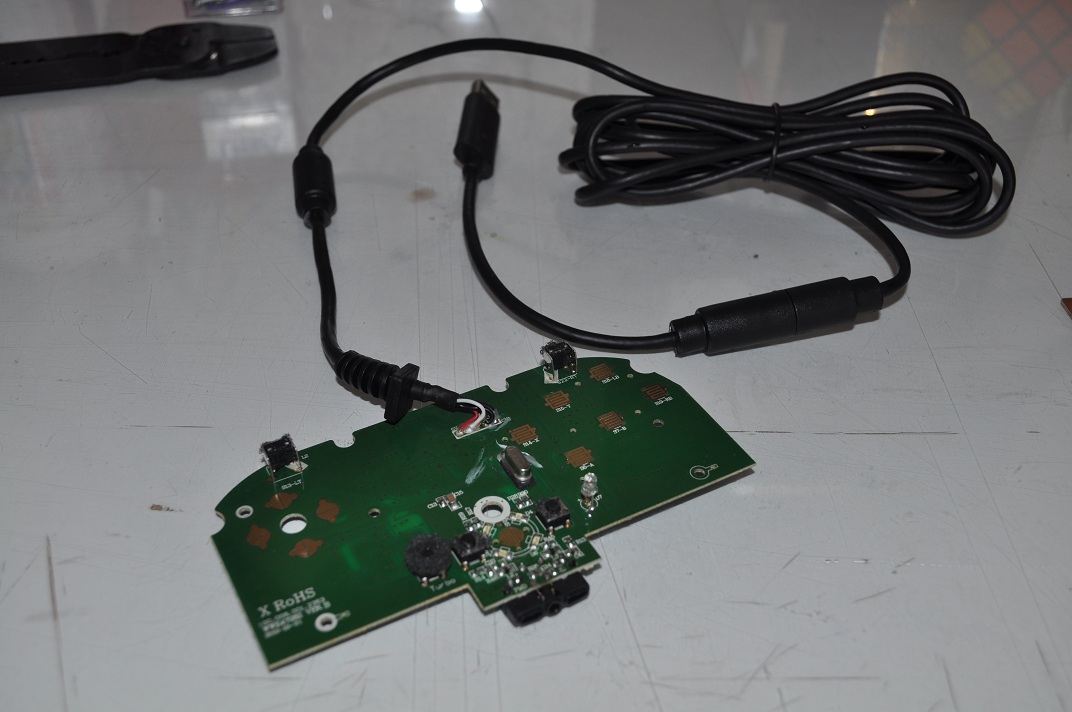
I woke up this morning and spent about 30 mins soldering my second Madcatz Brawlpad padhack:
You'll notice that I added some hot glue to all the solder points just to reinforce the connection. I also labeled each wire. With this all of my soldering I believe is done!
There is some more crimping that I think I'll do next which will be for the pushbuttons. That should be pretty easy but I would prefer to have the arcade cabinet so that I could get an idea of the length the wires need to extend. I think I will also start creating some art that will appear on the marquee and control panel.
 |
| 2nd Madcatz Brawlpad |
You'll notice that I added some hot glue to all the solder points just to reinforce the connection. I also labeled each wire. With this all of my soldering I believe is done!
There is some more crimping that I think I'll do next which will be for the pushbuttons. That should be pretty easy but I would prefer to have the arcade cabinet so that I could get an idea of the length the wires need to extend. I think I will also start creating some art that will appear on the marquee and control panel.
Saturday, October 1, 2011
My first difficult task...Soldering!
Today I spent the better part of my day doing one of the things that I thought would be the most challenging in building this arcade cabinet. As I wait for Kray to build the arcade cabinets I thought I would try my luck in padhacking thee Madcatz Brawlpad. As an electrical engineer I should know how to solder but I haven't really done a whole lot of soldering before. So today, I thought I would put my skills to the ultimate test. The alternative was to order special PCBs that are solder-less but they are more expensive and believe it or not, I'm trying to save some money. So earlier this week I went to Gamestop and brought two Madcatz Brawlpads for $19.99 a piece. I found some instructions online that indicated the signal and ground spots and I decided to go to work. Here is what followed:
This is one of the Madcatz Brawlpads. It was very easy to disassemble.

Here is my Radioshack soldering iron. It has two settings. One for 20W and the other for 40W. For this project I just needed to set it to 20W.

On the other side of my table are these Crimp-On Ring Tongue Terminals from Radioshack. They come in a pack of 16 and I brought 4 bags for a total of 64 terminals. Here is one bag displayed:

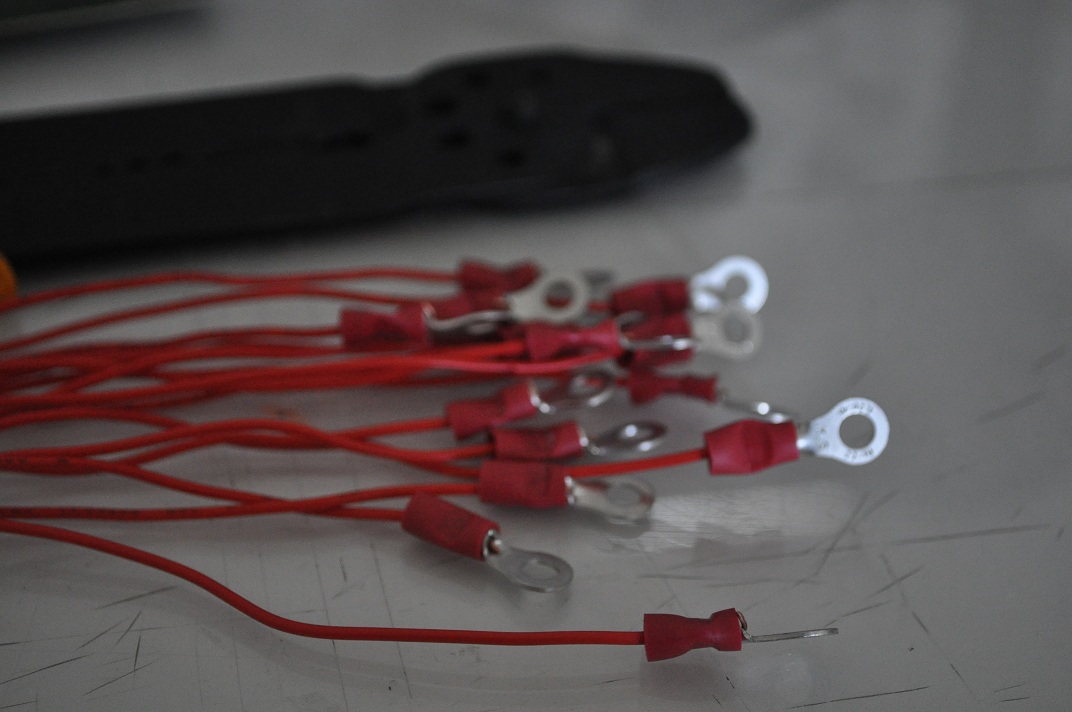
The first thing I did was cut 16 8-inch 22AWG red wire. I also had a schematic of all the positive signals and ground labeled on a brawlpad displayed on my iPad:

The next step was to strip about 1mm of the coat off each end of the wires. Here is how it ended up:

I then spent about 15 minutes crimping one end of each wire with the ring tongue terminals. I wanted to make a good connection so I squeezed really hard with my crimper.

The palm of both of my hands turned red with all the crimping that I was doing:

Then I went to work on soldering. I also used flux to make sure that the connections were very tight to the contacts.

Here's a picture of the back connections being made.

After about an hour of soldering this is how it ended. It wasn't elaborate or pretty but it's better then buying some expensive PCB or using excessive hotglue to make connections between the wire and contacts.

Here's another view of all the connections.

I later tested it and there were two wires that were not connected properly. I had to end up resodering them and when I tested them they worked fine. So that is one controller down and another one to go (I'll do it tomorrow)!
2 Madcatz Brawlpad controllers: $43.28
4 Pack of 16 Ring Tongue Terminals: $9.50
Terminal Strips: $7.96
Total so far spent: $600.10
This is one of the Madcatz Brawlpads. It was very easy to disassemble.
Here is my Radioshack soldering iron. It has two settings. One for 20W and the other for 40W. For this project I just needed to set it to 20W.

On the other side of my table are these Crimp-On Ring Tongue Terminals from Radioshack. They come in a pack of 16 and I brought 4 bags for a total of 64 terminals. Here is one bag displayed:

The first thing I did was cut 16 8-inch 22AWG red wire. I also had a schematic of all the positive signals and ground labeled on a brawlpad displayed on my iPad:

The next step was to strip about 1mm of the coat off each end of the wires. Here is how it ended up:

I then spent about 15 minutes crimping one end of each wire with the ring tongue terminals. I wanted to make a good connection so I squeezed really hard with my crimper.
The palm of both of my hands turned red with all the crimping that I was doing:

Then I went to work on soldering. I also used flux to make sure that the connections were very tight to the contacts.

Here's a picture of the back connections being made.

After about an hour of soldering this is how it ended. It wasn't elaborate or pretty but it's better then buying some expensive PCB or using excessive hotglue to make connections between the wire and contacts.

Here's another view of all the connections.

I later tested it and there were two wires that were not connected properly. I had to end up resodering them and when I tested them they worked fine. So that is one controller down and another one to go (I'll do it tomorrow)!
2 Madcatz Brawlpad controllers: $43.28
4 Pack of 16 Ring Tongue Terminals: $9.50
Terminal Strips: $7.96
Total so far spent: $600.10
Subscribe to:
Posts (Atom)